NFT の誕生
Gemini 研究開発チームは最近、Gemini のセキュリティ オンボーディング プロセスを根本から再設計しました。その再設計の一環として、Gemini では現在、新入社員ごとに固有の非代替性トークン (NFT) を発行しています。
私たちが協力したデザイナーの Lucas Hearl と Frank J. Guzzone は、1) 2D 画像をランダムに生成するためのデザイン パラメータと、2) オンボーディング ページに埋め込むバッジの 3D レンダリングを提供しました。当初の計画では 2D バッジ画像を NFT として提供することになっていたのですが、3D バッジの GIF/WEBM を動的に生成し、その上に 2D バッジ画像を配置する方がクールだと思いました。
この投稿では、three.js を使用してそれを実現する方法について説明します。ここで記述するコードは、例を実行するために CodePen を使用するため、本番環境で使用されるコードとまったく同じではありませんが、プロセスは同じです。
序文: 初心者より少し上
私の思考プロセス全体を説明しますが、私が使用している three.js のすべての機能について詳しく説明するつもりはありません。これまで three.js を使用したことがない場合は、ドキュメントが包括的で、使い始めるための優れたチュートリアル シリーズが用意されています。
ステップ0: 作業内容を見せてください
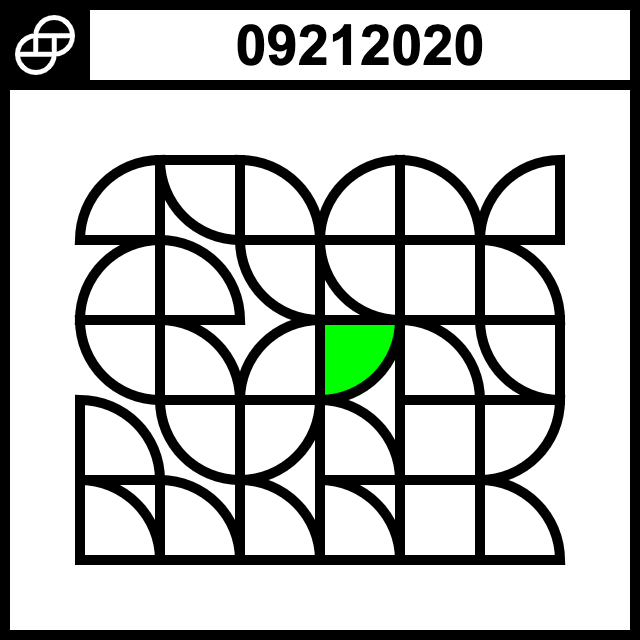
デザイナーから提供されたバッジの静的な事前レンダリングを取得し、three.jsでバッジを再作成します。
そしてこの画像を載せて
最終製品を作るには:
ステップ1: ボックスが必要
まず最初に必要なのは、作業するプロジェクト構造と操作する基本的なバッジです。私は、先ほどリンクした three.js チュートリアルの構造から始めて、ボックスの Z ディメンションを変更し、バッジらしくしました。
let geometry = new THREE.BoxGeometry(10, 10, 1);次に、AmbientLightを追加し、MeshBasicMaterial (three.js の照明と相互作用しない) をMeshStandardMaterial (相互作用する) に切り替えました。
let light = new THREE.AmbientLight(0x414141, 10);let material = new THREE.MeshStandardMaterial();また、デザイナーが使用したOrthographicCameraの代わりに、動的バッジにPerspectiveCamera を選択しました。
ステップ2: 箱を輝かせる
バッジの原型ができたので、次は退屈な白一色ではなく、メタリックな外観にする必要があります。そのためには、ボックスに使用しているMeshStandardMaterialにいくつかのパラメータを追加します。ついでに、ボックスの深さも調整しましょう。
let metal = new THREE.MeshStandardMaterial({ color: 0xffffff, roughness: 0.2, metalness: 1});let geometry = new THREE.BoxGeometry(10, 10, 0.1);let badge = new THREE.Mesh(geometry, metal);ポイントライトを追加しないと反射率を確認できないので、レンダリングからソフトボックスのプレースホルダーを追加しましょう。
let pointLight1 = new THREE.PointLight(0xffffff, 1, 100);pointLight1.position.set(5,5,10);let pointLight2 = new THREE.PointLight(0xffffff, 1, 100);pointLight2.position.set(-5,-5,10);let pointLight3 = new THREE.PointLight(0xffffff, 1, 100);pointLight3.position.set(5,-5,10);let pointLight4 = new THREE.PointLight(0xffffff, 1, 100);pointLight4.position.set(-5,5,10);...scene.add(pointLight1);scene.add(pointLight2);scene.add(pointLight3);scene.add(pointLight4);だんだん近づいてきましたが、レンダリングでは前面と側面で金属の種類が異なります。これは、マテリアル パラメータを少し変更することで近似できます。
let metal = new THREE.MeshStandardMaterial({ color: 0xffffff, roughness: 0.2, metalness: 1});let roughMetal = new THREE.MeshStandardMaterial({ color: 0xc0c0c0, roughness: 0.3, metalness: 0.99});let geometry = new THREE.BoxGeometry(10, 10, 0.1);let badge = new THREE.Mesh(geometry, [metal, metal, metal, metal, roughMetal, metal]);ステップ 3: 箱には何が入っていますか?
ここで、ランダムに生成された一意のバッジ画像をバッジの前面に配置する必要があります。この記事の目的上、画像をその場で生成するつもりはありませんが、実稼働環境では、バッジの前面は各従業員ごとに一意になります。
First, we need to load the image using a TextureLoader and put it into a MeshPhongMaterial:
let loader = new THREE.TextureLoader();let badgeFront = loader.load('https://i.imgur.com/Dq3ypnq.png');let badgeFrontMaterial = new THREE.MeshPhongMaterial({ color: 0xffffff, specular: 0x111111, shininess: 200, map: badgeFront, transparent: true});Putting it on the face of the badge in place of the rough metal means that only the badge material we just made out of the image will reflect the light.
To get this to work the way we want, we're going to have to do something tricky. First, we're going to make a separate Mesh with the same BoxGeometry. Then we put the badge image on the same face as the rough metal (with no textures for the other surfaces), put it in the same location as the badge, and spin it at the same rate.
let badge = new THREE.Mesh(geometry, [roughMetal, metal, metal, metal, metal, metal]);let nifty = new THREE.Mesh(geometry, [badgeFrontMaterial]);let badgeGroup = new THREE.Group();badgeGroup.add(badge);badgeGroup.add(nifty);...scene.add(badgeGroup);...badgeGroup.rotation.y = 0.015;Now we do the same thing with the Gemini logo and put it on the back of our transparent badge.
let badgeBack = loader.load('https://i.imgur.com/8McfMzg.png');let badgeBackMaterial = new THREE.MeshPhongMaterial({color: 0xffffff, specular: 0x111111, shininess: 200, map: badgeBack, transparent: true});...let nifty = new THREE.Mesh(geometry, [badgeFrontMaterial, badgeBackMaterial]);When you pass an array of materials to a Mesh created with a BoxGeometry, three.js assigns those materials to the faces of the box in a specific order. The current orientation of the badge, camera, and lights means that if we pass the badgeFrontMaterial as the first array element, three.js will place the "front" of the badge on the current bottom of the badge.
There are a couple of ways to deal with this, but I chose to change the dimensions of the badge (which changes which side is the "front") and move the camera and lights around to face the new badge front. The net effect is that nothing changes visually, but it's easier for us to work with.
Step 4: Softboxes or: How I Learned to Stop Worrying and Love RectAreaLightHelper
To get the softbox effect, we're going to replace our PointLights with RectAreaLights. While it might be possible for someone to picture in their head where the softboxes are relative to the badge and how they're being angled, I'm not that person.
Thankfully three.js provides a RectAreaLightHelper that shows where the light is positioned and what direction it's facing. I added one helper per light, added OrbitControls to the scene, and commented out the rotation in animate() so I could navigate around the scene to see precisely where I was putting the lights and how they were angled.
To replicate the softboxes we take a still image of the back of the badge from the static render.
Then we go softbox by softbox: pick a softbox from the still image, put a RectAreaLight in with its RectAreaLightHelper, and move it around and change its color and brightness until it looks right.
デザイナーが写真用ソフトボックス セットアップの仮想レプリカを作成しようとしていることを認識し、ソフトボックス セットアップがどのようなものかを調べれば、この部分は簡単になります。これらを適切な場所と明るさに配置するのは非常に面倒なので、OrbitControls と RectAreaLightHelpers が有効になっていることだけを示します (マウスをクリックしてドラッグすると移動し、スクロールすると拡大縮小します)。
最終製品です!
そして、完成です!静的な事前レンダリングされた回転バッジを、従業員の固有の NFT バッジ画像を顔に配置する、動的に生成された three.js シーンに変換しました。
前進、そして向上!
バロン・オルデンバーグ
主席セキュリティ研究エンジニア
分散化と透明性は暗号通貨の精神の中心です。Gemini では、暗号通貨の急速な技術開発に関する理解と知識の向上に貢献し、業界のイノベーションをさらに推進したいと考えています。暗号通貨の未来を築く中で、当社のエンジニアが開発した技術コンテンツを公開できることを誇りに思います。
で私たちをみつけて:
X (Twitter) | Telegram | Reddit
今すぐCoinCarpアプリをダウンロード: https://www.coincarp.com/app/